
What is Nomad?#
Nomad is a “flexible and easy-to-use workload orchestrator” from Hashicorp. “Like Kubernetes?” you might ask, and the answer would be “yes, but simpler.”
Nomad is a lightweight way to manage containers that is useful even on single-node systems. If you’ve gotten frustrated with the complexity of Kubernetes and thought “maybe I’ll just run all of my containers manually with Docker”, Nomad is worth a look.
I’ve become a big fan and have found that Nomad and IO work great together.
Here’s a good introduction to Nomad:
Great for your Homelab or Droplet#
Nomad is easy to install and try, and Nomad lets you easily run any number of container images on the machines that you put in your cluster. You can start with just one!
Installing Nomad#
The script below follows Hashicorp’s official instructions for installing Nomad on Ubuntu:
#!/bin/sh

# Install required packages.
sudo apt-get update && \
  sudo apt-get install wget gpg coreutils

# Add the Hashicorp GPG key.
wget -O- https://apt.releases.hashicorp.com/gpg | \
  sudo gpg --dearmor -o /usr/share/keyrings/hashicorp-archive-keyring.gpg

# Add the official HashiCorp Linux repository.
echo "deb [signed-by=/usr/share/keyrings/hashicorp-archive-keyring.gpg] https://apt.releases.hashicorp.com $(lsb_release -cs) main" \
| sudo tee /etc/apt/sources.list.d/hashicorp.list

# Update and install Nomad.
sudo apt-get update && sudo apt-get install nomad
We can use the dpkg command to see what we’ve just installed.
$ dpkg -L nomad
/etc
/etc/nomad.d
/etc/nomad.d/nomad.env
/etc/nomad.d/nomad.hcl
/usr
/usr/bin
/usr/bin/nomad
/usr/lib
/usr/lib/systemd
/usr/lib/systemd/system
/usr/lib/systemd/system/nomad.service
/usr/share
/usr/share/doc
/usr/share/doc/nomad
/usr/share/doc/nomad/LICENSE.txt
Starting and Stopping Nomad#
The /usr/lib/systemd/system/nomad.service file allows us to manage our Nomad with systemctl. If you’re not running as root, you’ll need to run these with sudo.
systemctl start nomad | Starts Nomad, but don’t do this yet! Wait until we’ve configured our Nomad (below). |
systemctl stop nomad | Stops Nomad. |
systemctl reload nomad | Restarts Nomad. Run this when you change your configuration. |
systemctl enable nomad | Causes Nomad to be started each time your system boots. |
systemctl disable nomad | Disables Nomad by preventing restarts when your system boots. |
Configuring Nomad#
Nomad has a “dev” mode that makes it easy to try, but this only stores configuration in memory, so whenever you restart it, you’ll have to reload everything.
Here we’ll describe a more resilient way to run Nomad that allows us to stop and restart our Nomad and potentially add machines to form a multi-node cluster. There are more advanced ways to run Nomad, but we’ll get a lot of value from just this.
Replace your /etc/nomad.d/nomad.hcl with this:
data_dir  = "/opt/nomad/data"
bind_addr = "0.0.0.0"

server {
  enabled          = true
  bootstrap_expect = 1
  heartbeat_grace  = "1m"
}

client {
  enabled = true
  servers = ["127.0.0.1"]

  host_volume "io" {
    path = "/srv/nomad/io"
    read_only = false
  }
}
We’ve included a host volume declaration that makes a local directory available to an instance of IO that we’ll configure next. Nomad won’t create this directory automatically, so be sure that it exists (you’ll probably need to sudo this):
mkdir -p /srv/nomad/io
Now you can start Nomad!
systemctl start nomad
Monitoring Nomad#
nomad is also a CLI that allows you to interact with your cluster.
nomad agent-info will give you a detailed overview. Try it!
Nomad also has a web interface that runs on port 4646. Make sure that this is hidden behind your firewall!
See more about Nomad’s port usage here.
Running IO in Nomad#
This Nomad job description will run IO in your Nomad cluster. Save it as io.hcl.
job "io" {
  datacenters = ["dc1"]
  type = "service"
  group "io" {
    count = 1
    service {
      name = "io"
      provider = "nomad"
    }
    volume "io" {
      type      = "host"
      read_only = false
      source    = "io"
    }
    task "io" {
      driver = "docker"
      config {
        image = "agentio/io:latest"
        network_mode = "host"
        force_pull = true
      }
      volume_mount {
        volume = "io"
        destination = "/io"
        read_only = false
      }
    }
  }
}
Note that just as in Running IO with Docker, we’re using host mode to allow our IO to claim local ports on our host machine.
Before starting IO, you’ll need an io.db in /srv/nomad/io that is initialized with your license key and SSH users. You can create the io.db by running IO locally:
IO.sh -c license.hcl -c users.hcl -x
This uses the script in Running IO with Docker.
Now, if you’re sure that /srv/nomad/io/io.db exists and is initialized with your license and SSH user, start IO with this nomad subcommand:
nomad job run io.hcl
Use IO to securely access your Nomad console#
If you’re running Nomad locally or using a VPN like Tailscale to connect to your server, you can easily connect to Nomad’s web console on port 4646.
But if you’re running behind a firewall, you’ll need a way to protect it.
Here we’ll configure an IO serving interface that requires HTTP Basic Auth and an ingress that publishes our Nomad console on a subdomain. Later we’ll see how to replace HTTP Basic Auth with AT Proto authorization, which will allow you to grant access to your console to a list of Bluesky handles.
First here’s the serving interface:
serving "nomad" {
  name    = "Nomad Console"
  port    = 9898
  backend = "127.0.0.1:4646"
  require_basic {
    users = <<END
hulk:{SHA}Mf6CeupM9fas594sId4LX2t4OFg=
END
  }
}
(This is the same password that we used in the Tour. Go back to that post to see how to use htpasswd to set your own values.)
Here’s the ingress configuration (replace the host domain with your own!):
ingress "nomad.babu.dev" {
  name    = "nomad"
  backend = "serving:nomad"
}
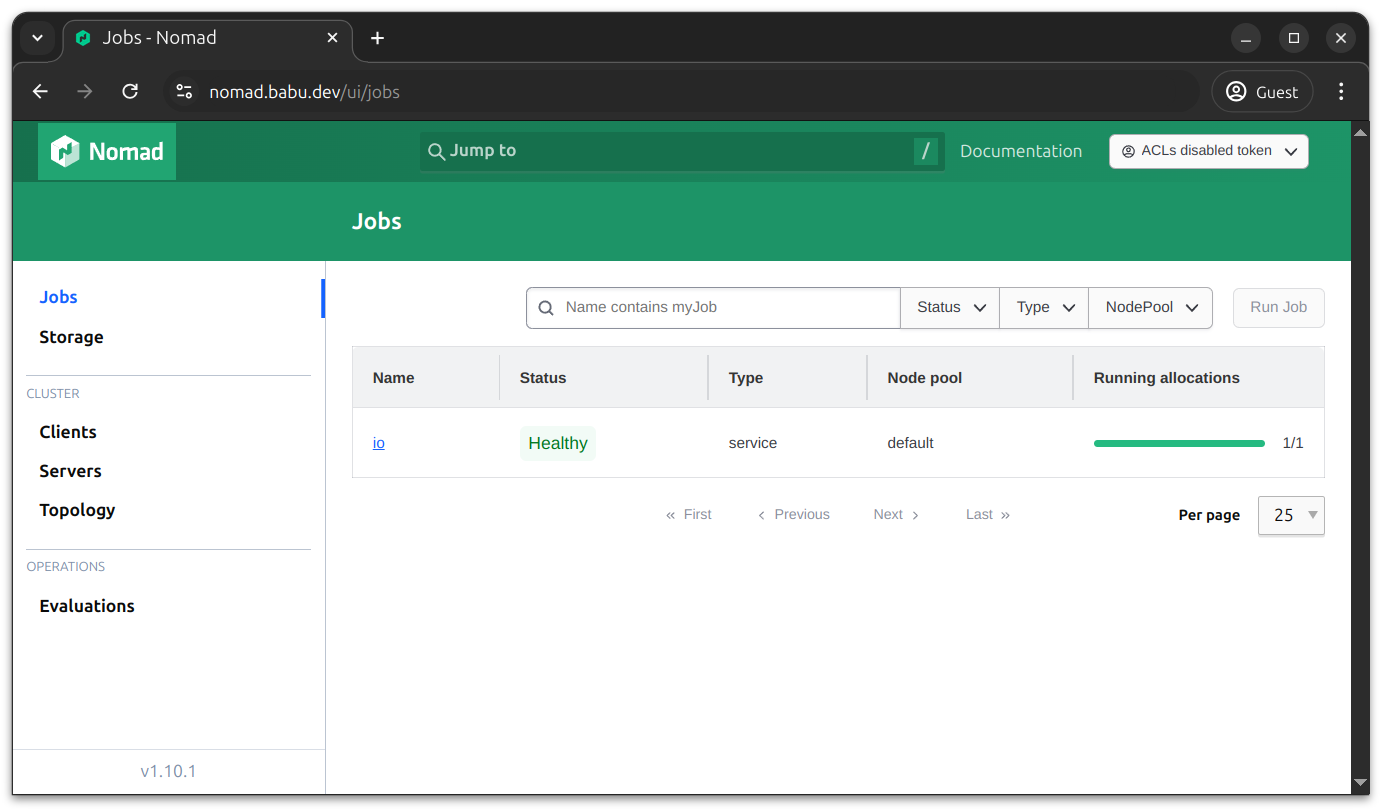
When this is running, you’ll get a login prompt when you visit your public Nomad console interface:

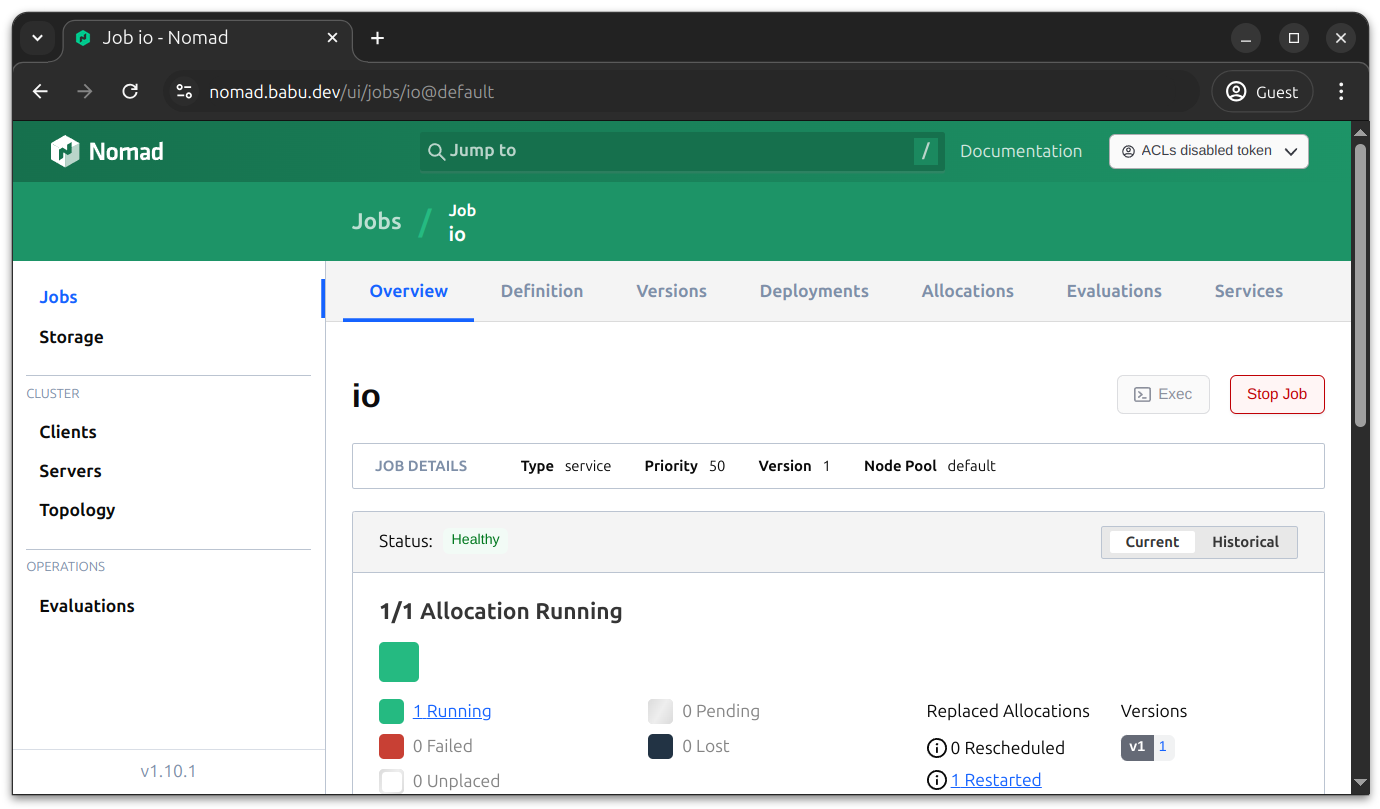
After you’ve signed in, you can use the console to view your cluster and details of individual jobs.
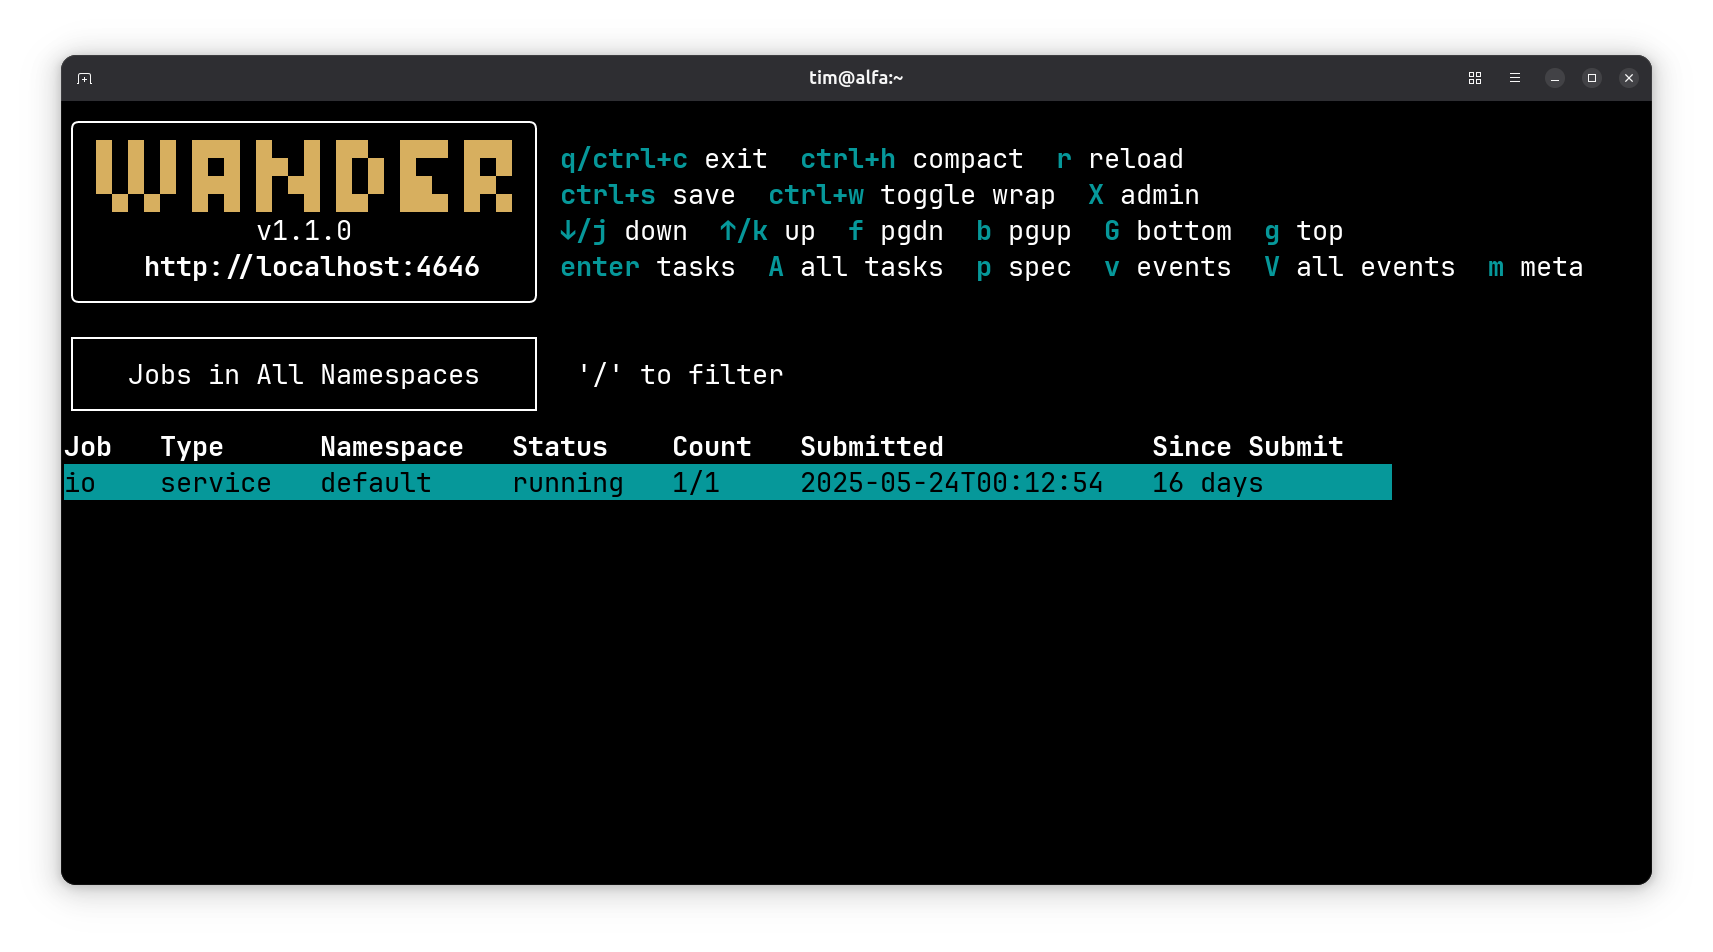
Wander, the OG TUI#
Leo Robinovitch has built another way to interact with your Nomad cluster. Wander is a terminal UI that in many ways inspired the design of IO, which you’ll see from this screenshot:
To learn more about Wander and Leo, watch this interview on the Charm CLI Community Channel.
(Fun fact: I discovered Nomad after finding Wander when I was looking around for examples of great TUIs!)
Cool trick #1: IO configurations can refer to Nomad jobs by name.#
IO uses the Nomad API to resolve backend names, so if you’re running a backend in Nomad with a job named mycooljob, you can refer to it as nomad:mycooljob as an ingress or serving backend instead of specifying the explicit address.
Cool trick #2: IO watches the Nomad event stream for updates.#
IO subscribes to the Nomad Event Stream and automatically reconfigures any Envoy clusters pointing to Nomad jobs when those jobs and their allocations change. When IO is run inside Nomad, it will automatically see its cluster’s activity. When IO is run outside of Nomad, it can be pointed to a Nomad cluster with the NOMAD_ADDR environment variable.
Cool trick #3: IO Calling mode can be secured with Nomad workload identities.#
Nomad provides JWT tokens to jobs and publishes a JWKS on a URL. We can configure IO to require JWTs on calling mode requests and to use the Nomad JWKS to verify them. With this, your calling mode tokens will be secure even if your calling mode ports are exposed to the public internet.