
Framework and Ubuntu FTW#
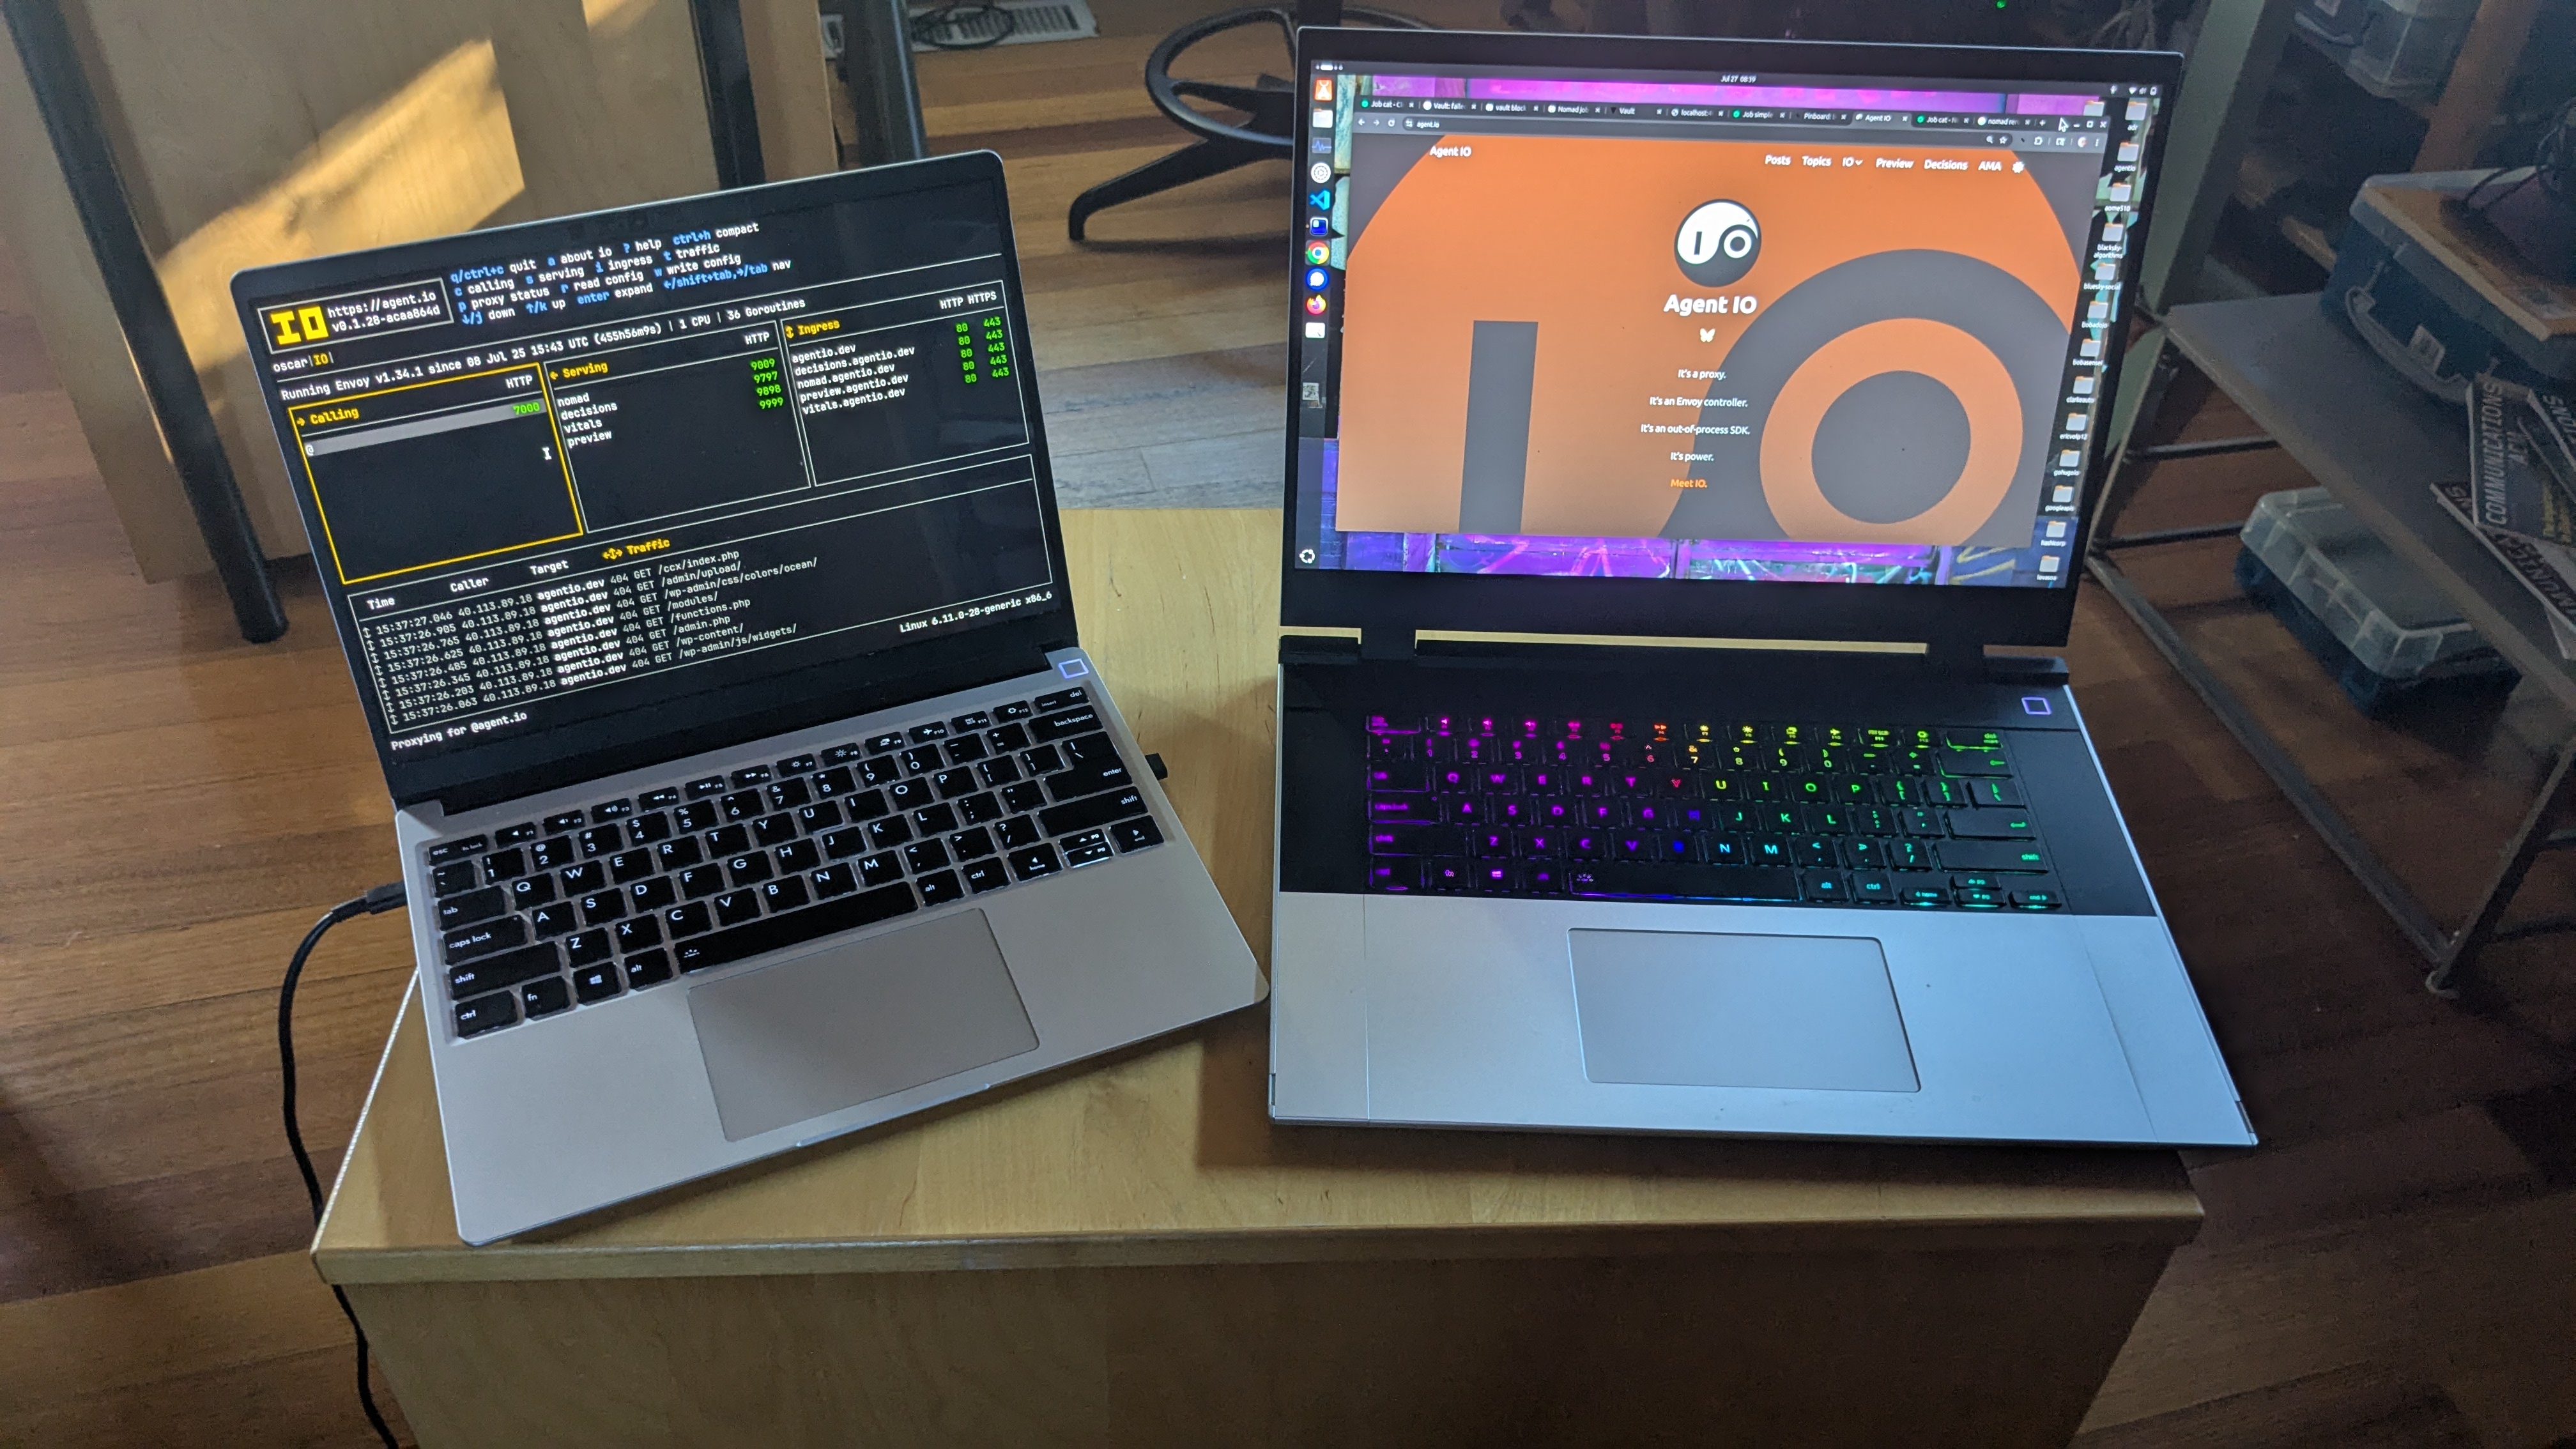
Before I started working on IO, I switched from MacOS to a Framework laptop running Ubuntu. It’s been great having a consistent environment across my laptops, desktop, servers, and droplets, and I really haven’t missed anything from Apple’s proprietary world. Now I have two Framework laptops, a Framework 13 and a Framework 16, that I switch between depending on how much weight and screen I want to carry. I keep them both on recent versions of Ubuntu (currently the 13 is on 24.10 and the 16 is on 25.04).
Now with Nomad and Vault#
As I’ve been working more with Nomad and Vault, I’ve started running them on my laptops. This has been great for learning and keeps the scope and blast radius of my experiments small.
Installing Nomad and Vault#
Here’s the script that I use to install and update Nomad and Vault. It uses the apt package manager and installs official Hashicorp packages.
#!/bin/sh

# Install basic utilities.
sudo apt-get update && sudo apt-get install wget gpg coreutils

# Get the latest Hashicorp gpg keyring.
sudo rm -f /usr/share/keyrings/hashicorp-archive-keyring.gpg
wget -O- https://apt.releases.hashicorp.com/gpg | \
  sudo gpg --dearmor -o /usr/share/keyrings/hashicorp-archive-keyring.gpg

# Add the hashicorp source list.
echo "deb [signed-by=/usr/share/keyrings/hashicorp-archive-keyring.gpg] https://apt.releases.hashicorp.com $(lsb_release -cs) main" | \
  sudo tee /etc/apt/sources.list.d/hashicorp.list

# Install Nomad and Vault.
sudo apt-get update && sudo apt-get install nomad vault
Configuring Nomad#
Nomad configuration is in /etc/nomad.d/nomad.hcl. Here’s a configuration from one of my laptops:
data_dir  = "/opt/nomad/data"

bind_addr = "127.0.0.1"

advertise {
  http = "127.0.0.1"
  serf = "127.0.0.1"
  rpc  = "127.0.0.1"
}

server {
  enabled          = true
  bootstrap_expect = 1
}

client {
  enabled = true
  servers = ["127.0.0.1"]

  host_volume "io" {
    path = "/srv/nomad/io"
    read_only = false
  }
}
Running Nomad#
Now I can run Nomad with sudo systemctl start nomad. I can gracefully stop Nomad with sudo systemctl stop nomad, but haven’t observed any negative consequences from just shutting down my machines with Nomad running.
When Nomad is running, I can see the management console at localhost:4646.
I can run IO with this Nomad job, which I store in io.hcl:
job "io" {
  datacenters = ["dc1"]
  type = "service"
  group "io" {
    count = 1
    service {
      name = "io"
      provider = "nomad"
    }
    volume "io" {
      type      = "host"
      read_only = false
      source    = "io"
    }
    task "io" {
      driver = "docker"
      config {
        image = "agentio/io:latest"
        network_mode = "host"
        force_pull = true
      }
      volume_mount {
        volume = "io"
        destination = "/io"
        read_only = false
      }
    }
  }
}
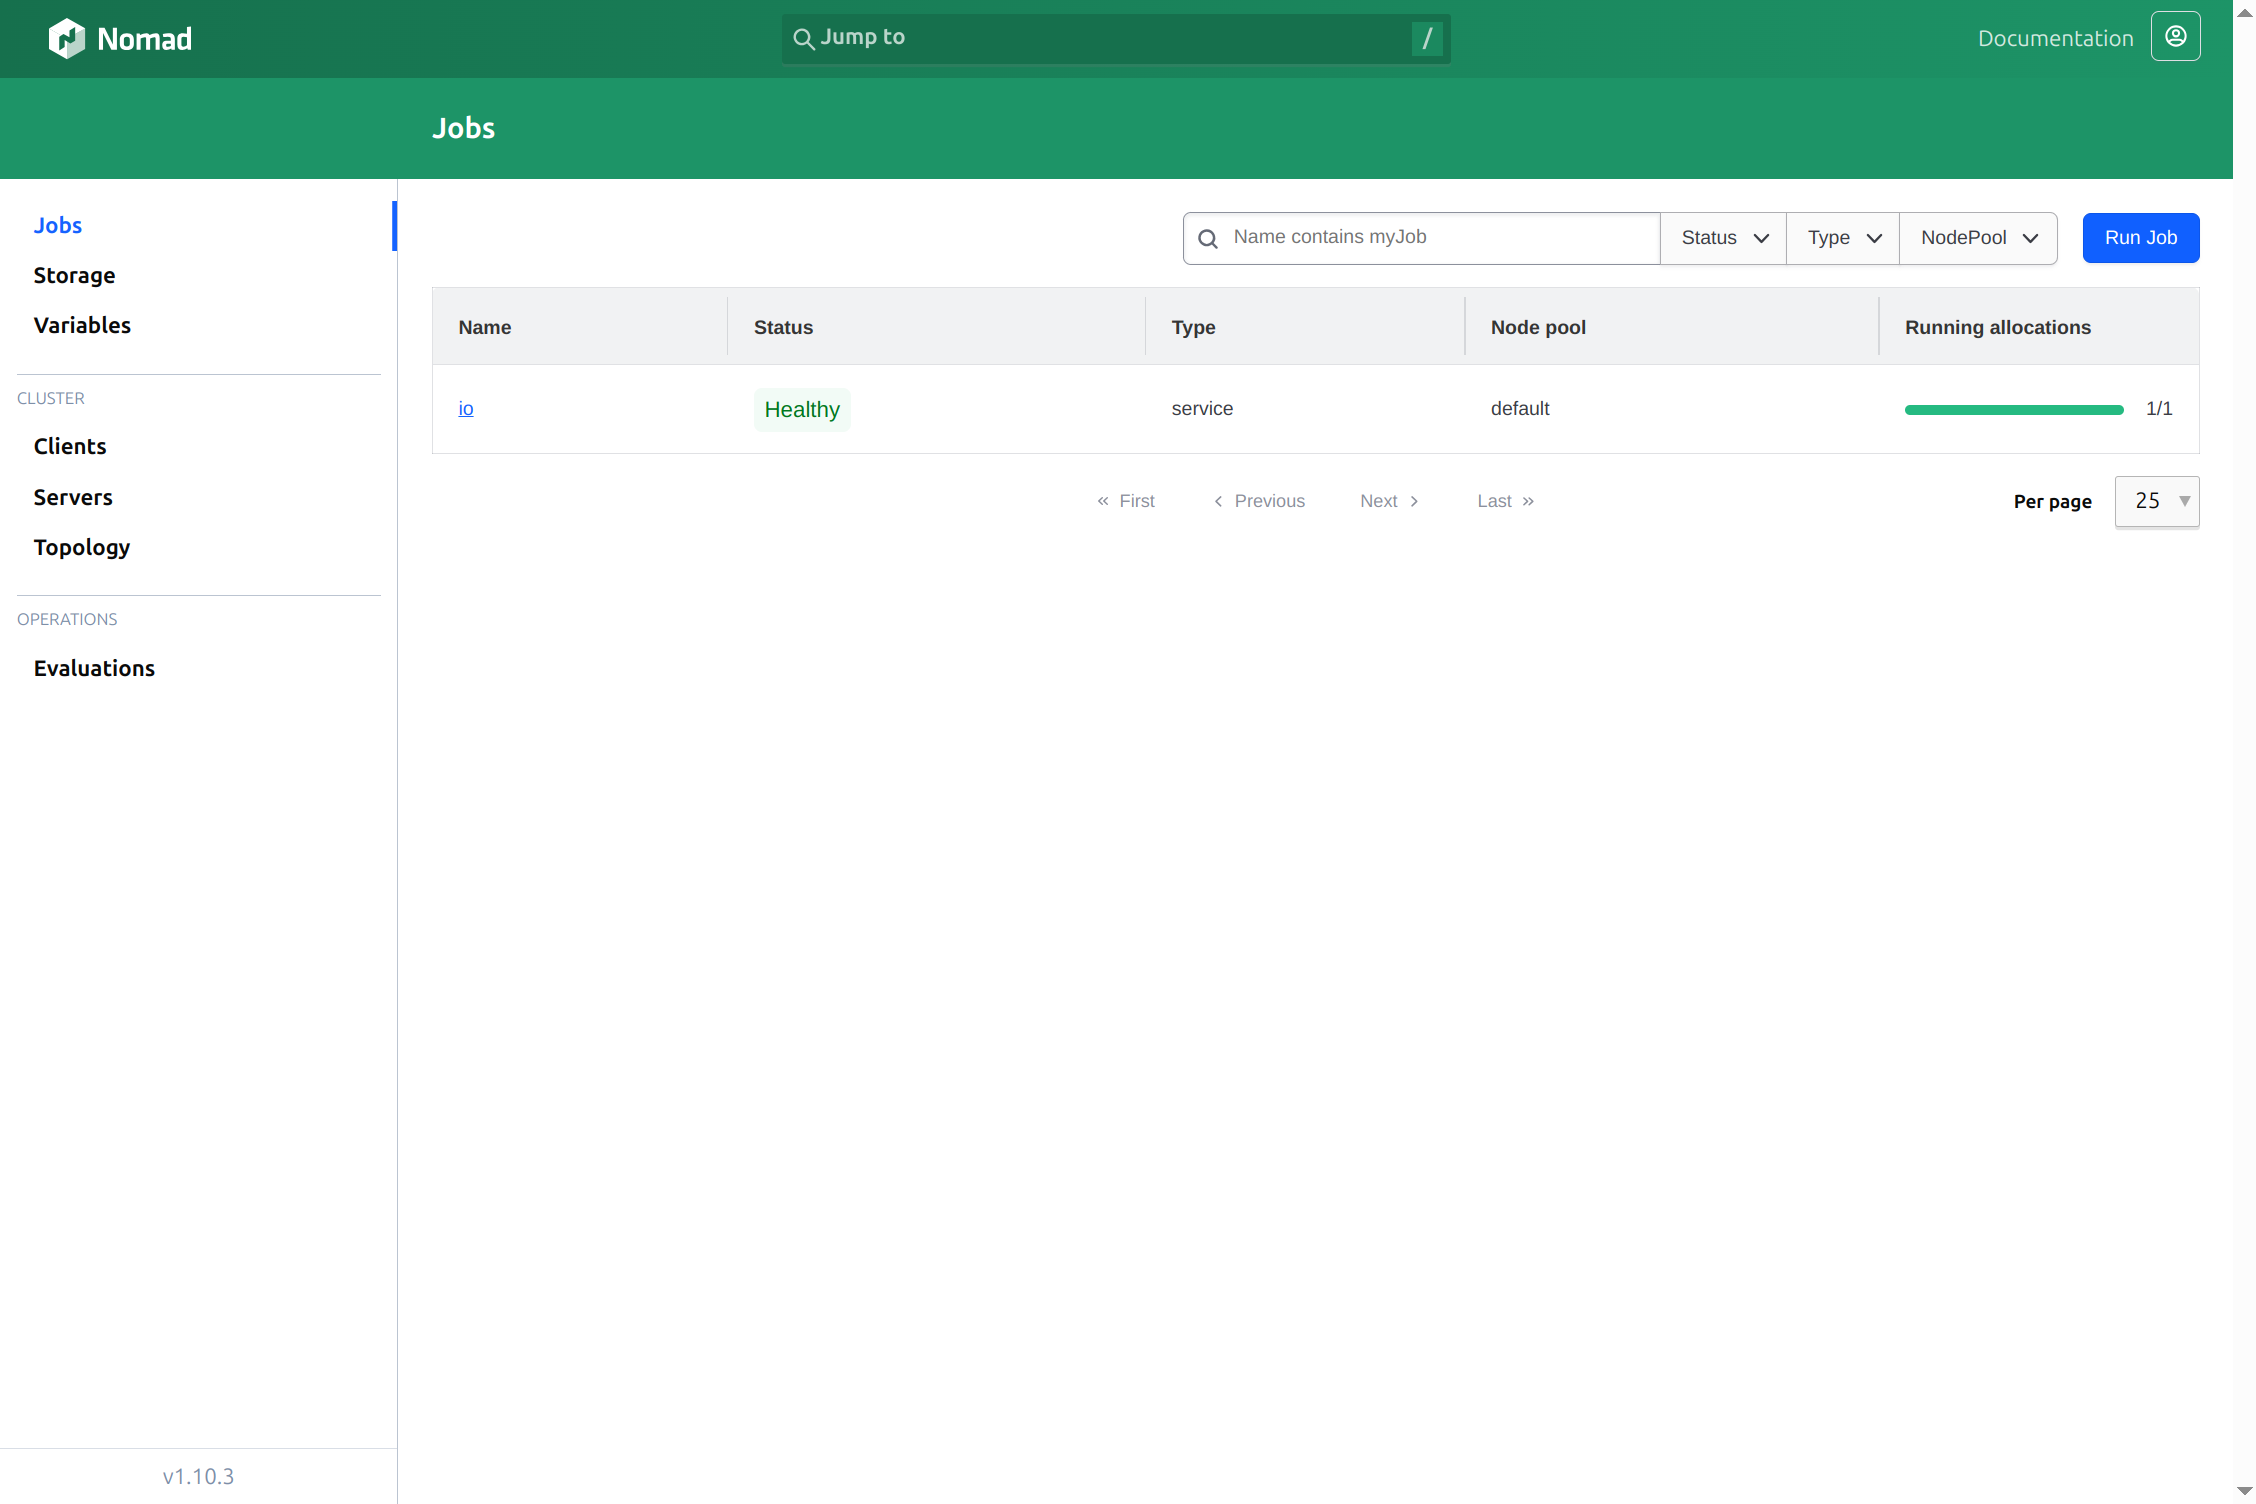
Note that this requires an io.db in /srv/nomad/io that is initialized with a license and SSH keys. When that’s present, I can start IO with nomad job run io.hcl.
Here’s a view of the Nomad console with my running IO:
Configuring Vault#
Vault configuration is in /etc/vault.d/vault.hcl. Here’s a configuration from one of my laptops:
ui = true

storage "file" {
  path = "/opt/vault/data"
}

listener "tcp" {
  address = "127.0.0.1:8200"
  tls_disable = 1
}
Running Vault#
Vault runs as the vault user, so you will need to create /opt/vault and chown it to belong to vault.
You can start Vault with sudo systemctl start vault. When it is running, you can connect to the Vault UI at localhost:8200. If this is the first time you’ve run this Vault instance, your first task will be to initialize it. Here’s what the UI initially presents:
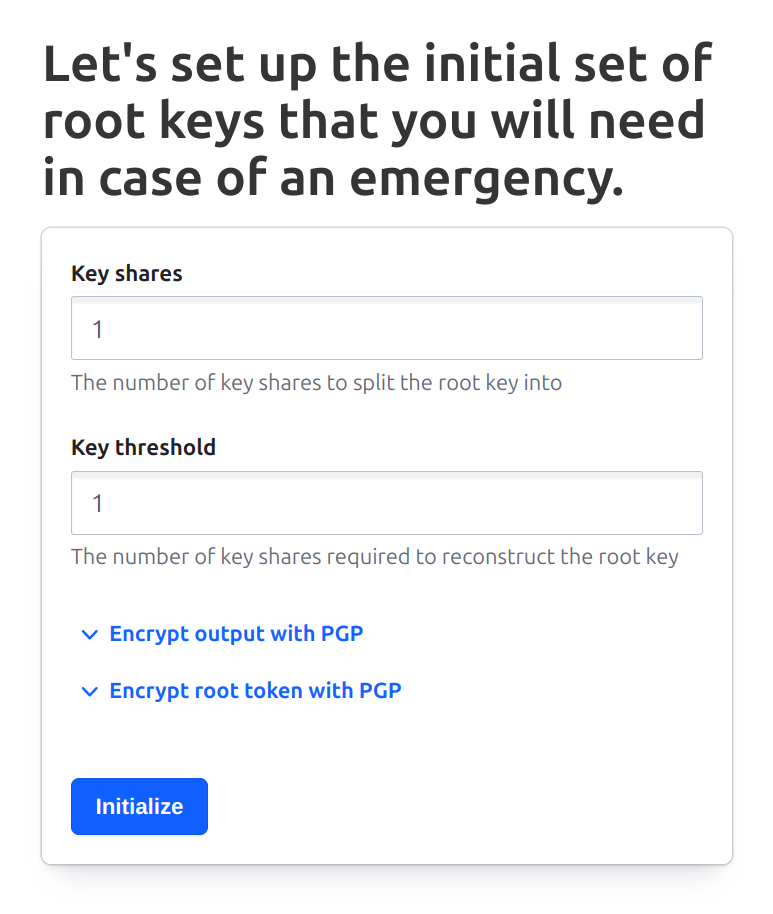
I’ve selected “1” for both the number of key shares and the key threshold. In more serious installations, you would want to use higher numbers, but this allows us to easily manage a local test instance. Once the Initialize button is pressed, you should see the following screen:
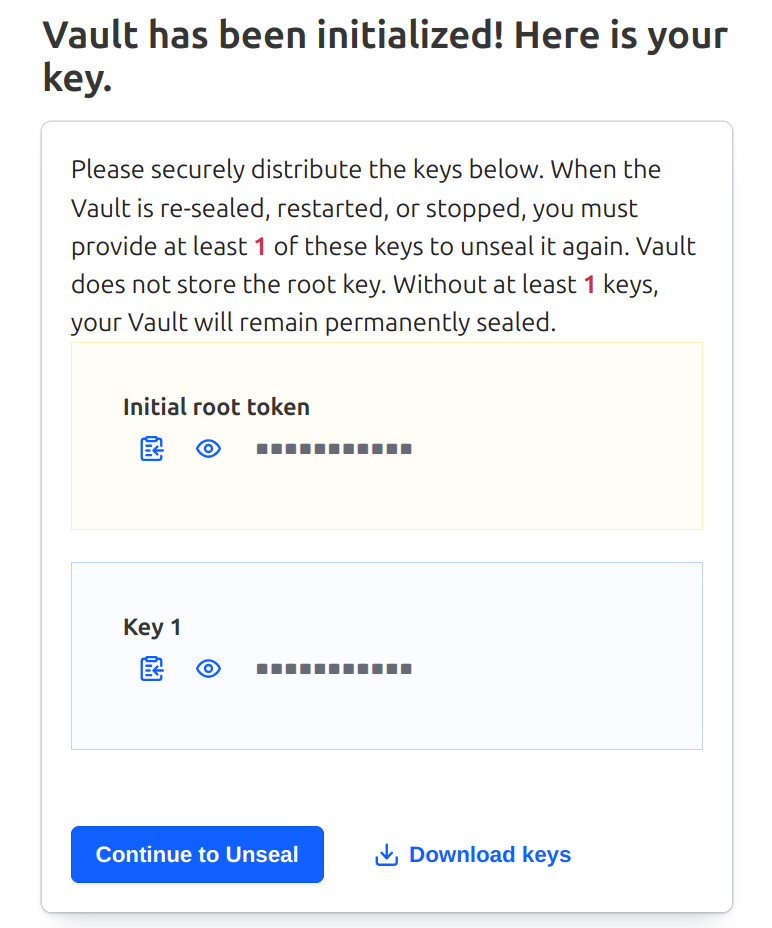
Rather than copy the tokens from this page, I usually use the Download button to download a JSON file to my local Downloads directory.
To more easily manage my test instance, I’ve written a small CLI called v. It expects these downloaded credentials to be in ~/.config/vault/keys.json. I can move the file that I just downloaded there with this:
$ mv ~/Downloads/vault-cluster-vault-2025-07-26T18_32_14.304Z.json ~/.config/vault/keys.json
$ more ~/.config/vault/keys.json
{
  "keys": [
    "<A 64-CHARACTER HEX STRING>"
  ],
  "keys_base64": [
    "<THE BASE64 ENCODING OF THE KEY>"
  ],
  "root_token": "<ANOTHER BASE64-ENCODED TOKEN>"
}
Now if I’ve installed v, I can use v unseal to unseal my local Vault.
$ v unseal
{
  "build_date": "2025-07-24T13:33:51Z",
  "cluster_id": "fe9650bd-89f6-4f7c-0882-3557c88dc9d8",
  "cluster_name": "vault-cluster-8023e4d0",
  "initialized": true,
  "migration": false,
  "n": 1,
  "nonce": "",
  "progress": 0,
  "recovery_seal": false,
  "sealed": false,
  "storage_type": "file",
  "t": 1,
  "type": "shamir",
  "version": "1.20.1"
}
Going back to the UI, I find that I now see a Vault login screen.
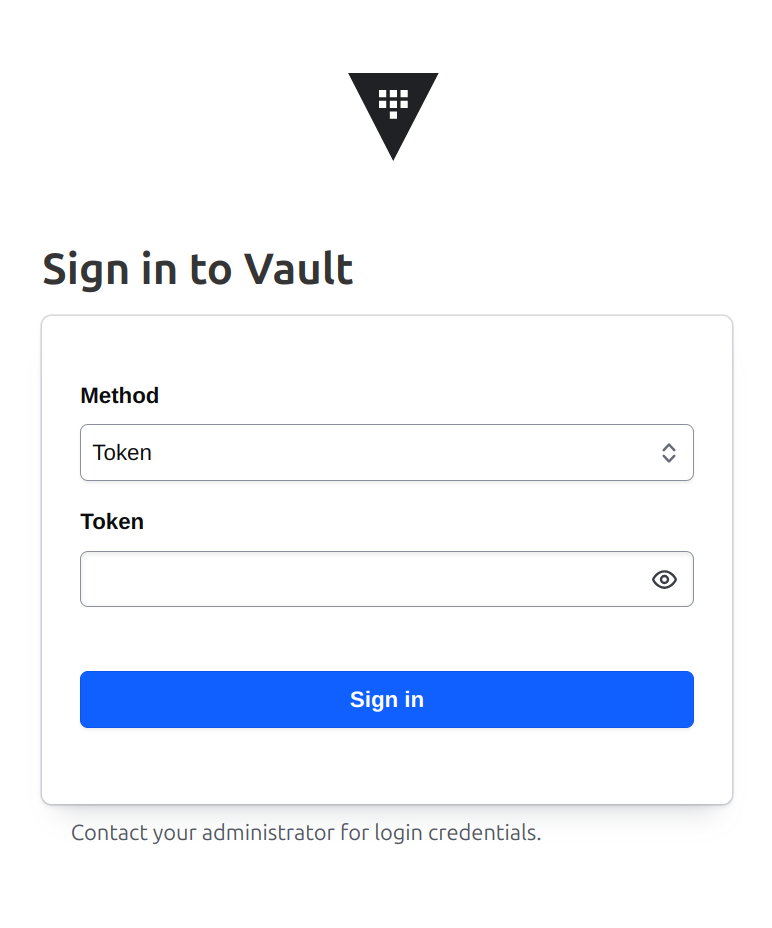
To login to Vault, I need a token. I can read the token out of the JSON file that I just downloaded, or I can just use v token to copy that onto the pasteboard. When I use that token to sign in, I see the Vault console.
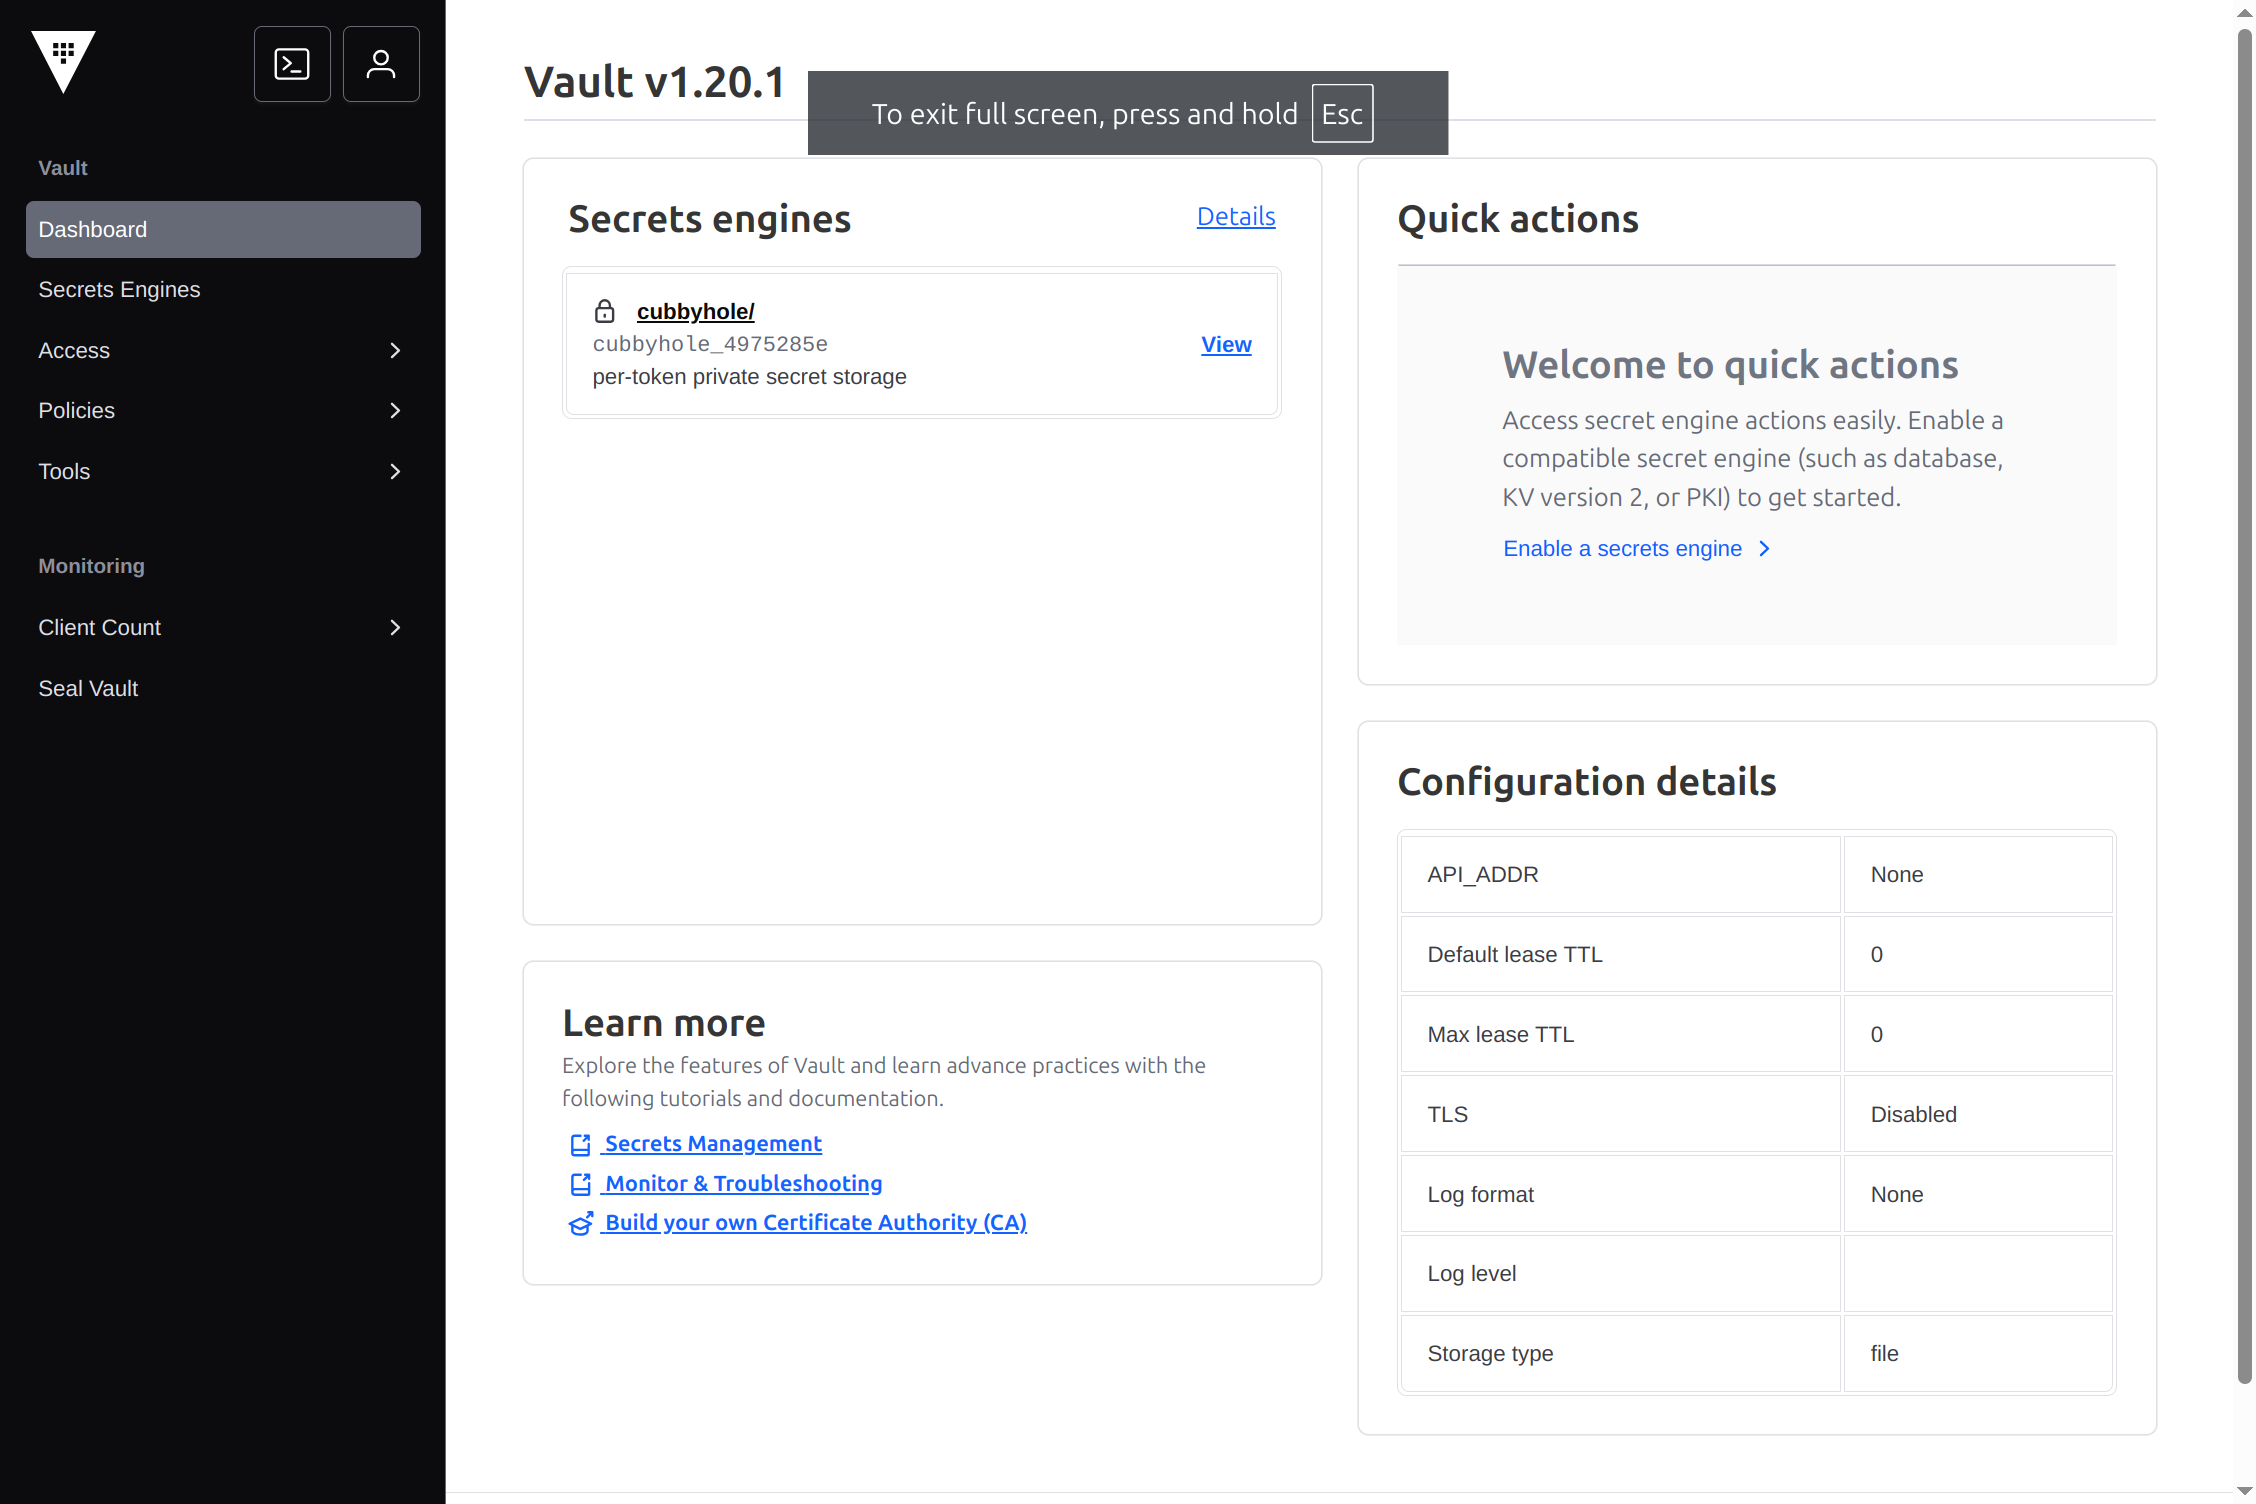
There you go!#
If you follow the above steps, you’ve got a way to run Nomad and Vault on a laptop that’s easy to start and stop. Unlike running Nomad and Vault in dev mode, this saves state persistently so that you can stop and restart at your next working spot.
You might notice that this runs Vault outside of Nomad. It’s possible to use official Vault images and run Vault inside Nomad just as we run any other containerized services, but for now I’m keeping things simpler (I think) and running Vault independently.
Appendix: Automatically Unsealing Vault#
From the Department of Things Not To Do In Production, here’s how I keep the vault on my laptop unsealed.
I’m using Nomad’s raw_exec driver, which requires me to add this plugin configuration at the top level of my /etc/nomad.d/nomad.hcl:
plugin "raw_exec" {
  config {
    enabled = true
  }
}
raw_exec is a powerful and dangerous driver, as it allows Nomad to run jobs as root without filesystem isolation. Since I’ve set up my v tool to unseal my vault, I use it here, and I run it as me so that it will easily use the the configuration stored in my home directory.
Here’s the job description:
job "unseal" {
  datacenters = ["dc1"]
  type = "batch"

  group "unseal" {
    task "unseal" {
      driver = "raw_exec"
      config {
        command = "/usr/bin/sudo"
        args = ["-H", "-i", "-u", "tim", "v", "unseal"]
      }
      restart {
        mode = "delay"
        interval = "5s"
        attempts = 10
      }
    }
  }
  periodic {
    crons = ["*/2 * * * *"]
  }
}
Since I didn’t see a good way to run this on cluster starts, I’ve set it to run every two minutes.